- Sample file
- Save a copy of sample file
- Editing sample file
- What is Course ID
- Save file as .csv
- Upload the bulk import file
Sample file
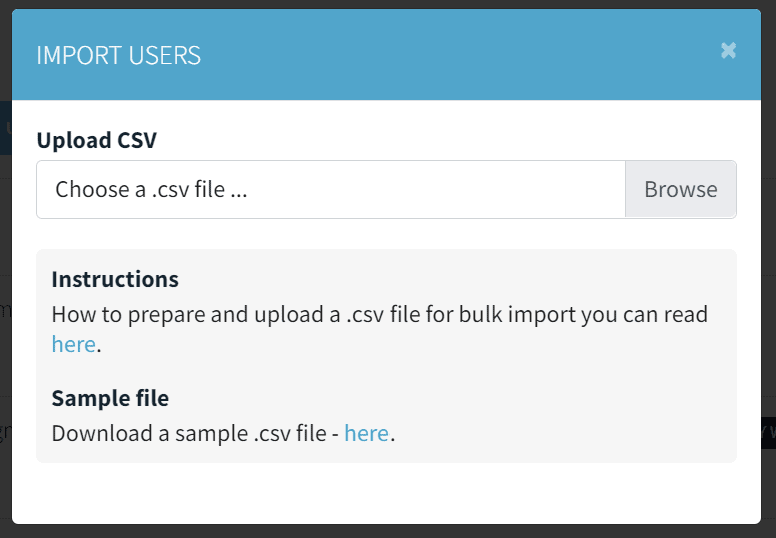
Bulk import allows you to quickly add a larger number of users at once with a .csv file. You can download a sample file at Users > Import users > Sample file.
To download the sample file go to:
- Users
- Import users – click on the second button on the top left above the users table
- A pop-up opens up. Under the upload file field there is a link to the sample file.
- Click on here under Sample file – Download a sample .csv file – here. A sample file will open in new window.

Save a copy of sample file
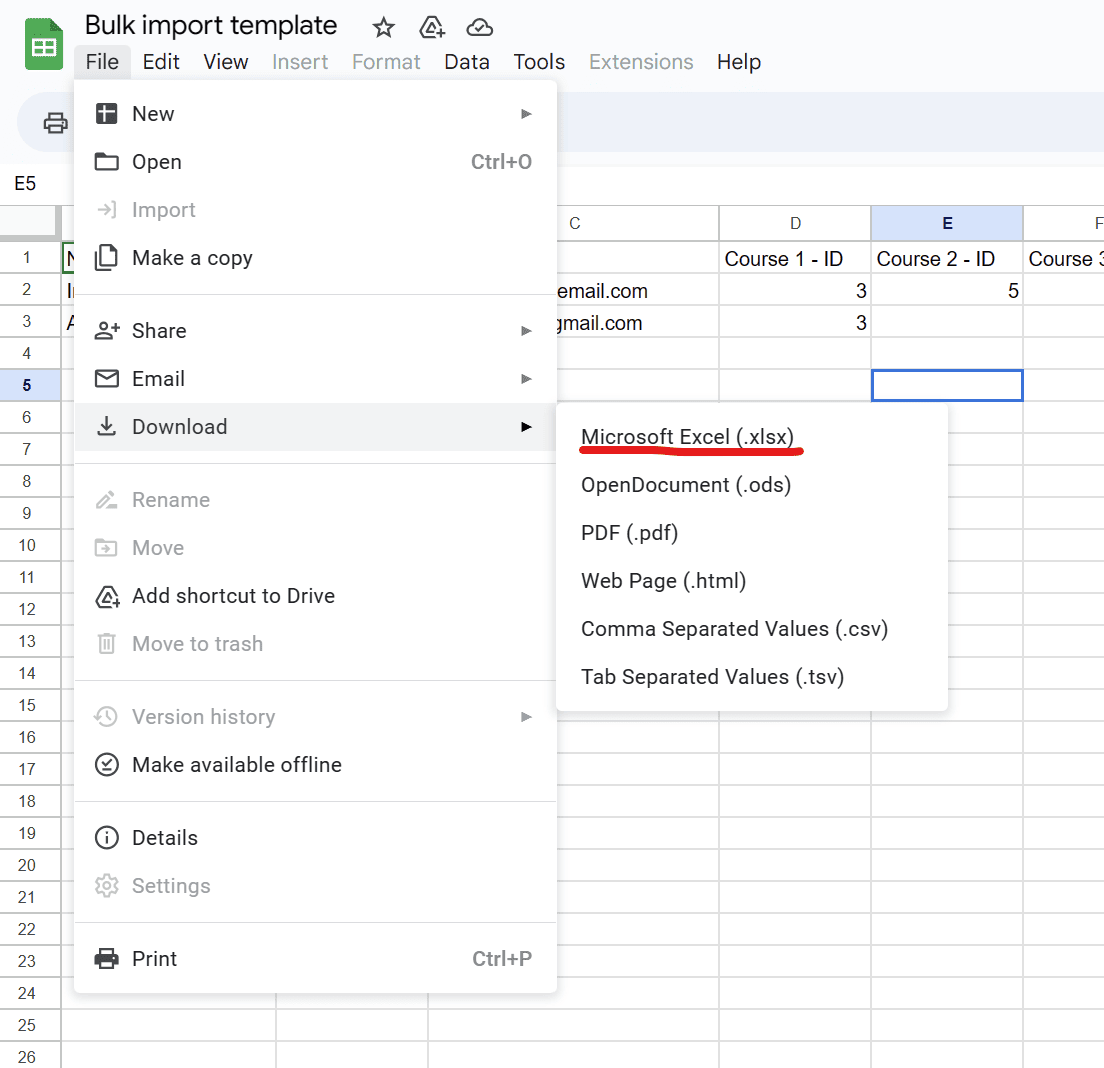
The file opened in new window is preview only. To edit the file download it as a .xlsx file and edit it with Microsoft Excel or Google Sheets. Once you have your copy, you can edit it with your own data.
To save a copy of the sample file go to:
- Files
- Download
- Microsoft Excel (.xlsx)
- Open the file and edit it with Microsoft Excel
- Upload the file to Google Drive and edit it with Google Sheets

Editing sample file
In the top row of the file there are titles of each column – Name, Lastname, … These titles determine the data that is in each column.
Editing the sample file:
- Name – Add the first name of the new user in the first column<<<
- Lastname – Add the last name of the new user in the second column
- Email – Add the email address of the new user in the third column
- Course 1 – ID – Add the course ID of the course that the user has access to in the fourth column
- If the user has access to more than one course, add the course IDs to next coulmns under Course 2 – ID, Course 3 – ID… Leave the extra columns empty.
If a user has access to more courses than there are coulmns in the sample file, add new columns as needed. In the first row of the column add the title Course number – ID. Numbers continue in a natural sequence – 6, 7, 8,… Add as many columns as you need.

What is Course ID
Course ID is a unique identification number that the course receives automatically when you create it in the admin dashboard. You can find the course ID number under Courses > ID. Users get access to a specific course by entering the course ID number in the upload file under the column Course No. ID.

Save file as .csv
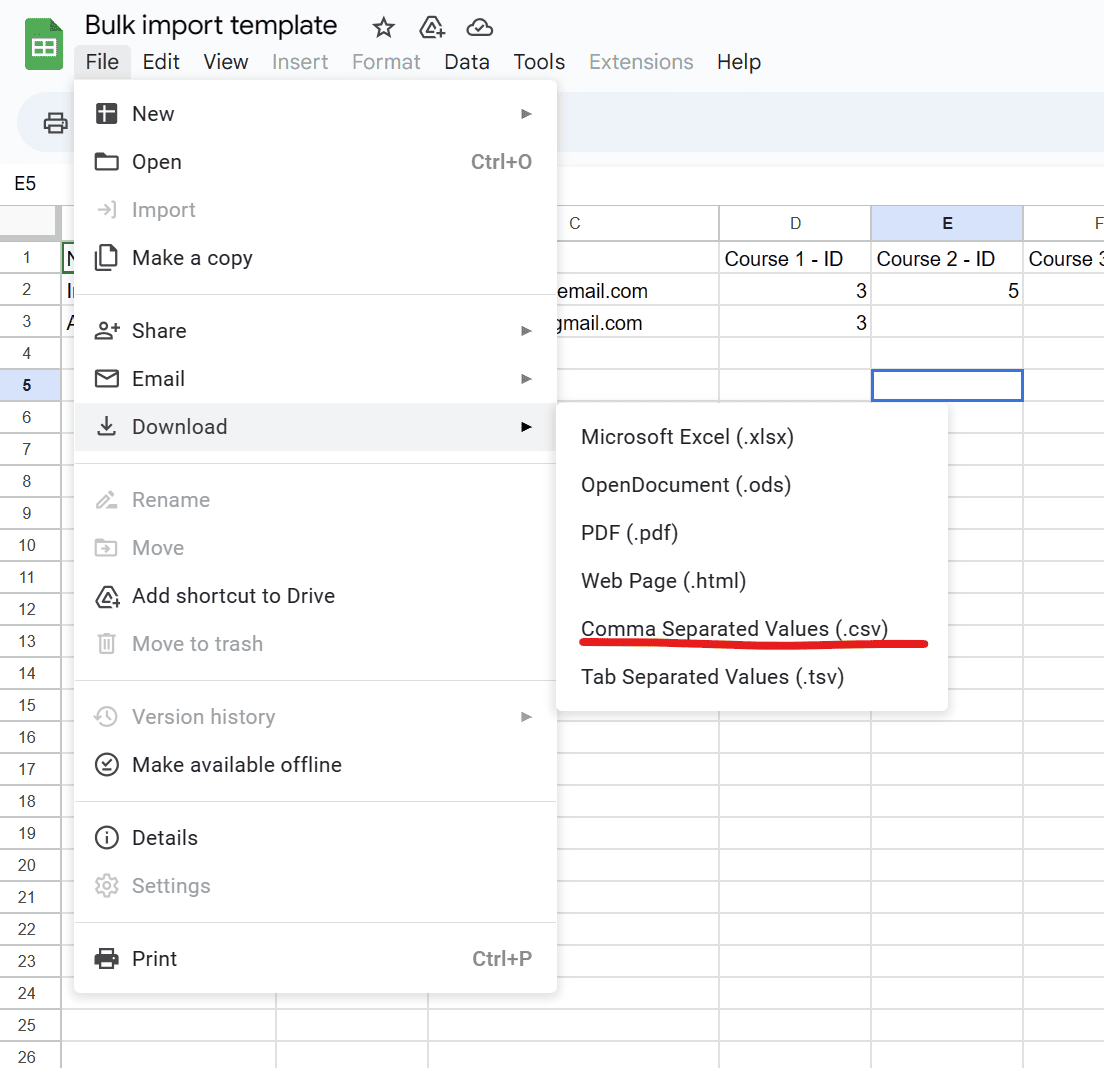
When you add all the data in your spreadsheet and you are ready to import the data in Fitcrea, save the file as .csv.
To save the file as .csv file go to:
- Files
- Download
- Comma separated values (.csv)

Upload the bulk import file
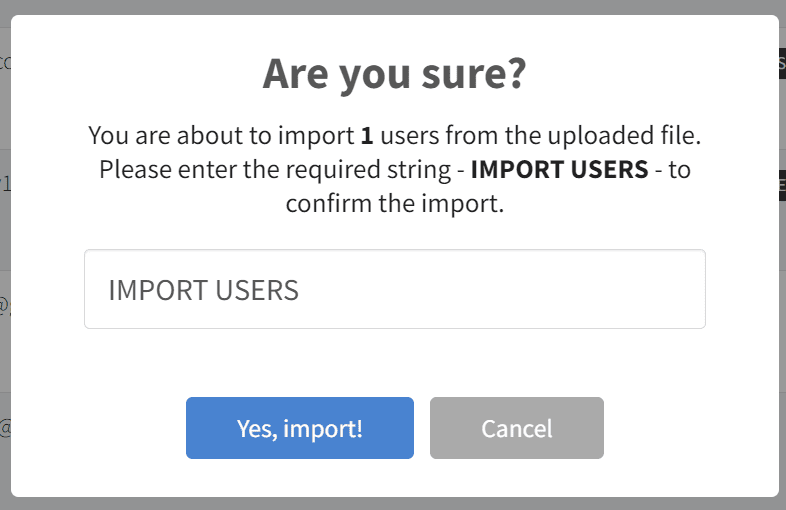
Upload the bulk import file at Users > Import users > Upload CSV.

A table with the data from the file appears. Check the data before clicking IMPORT. If the data is incorrect click BACK to return without importing.

To confirm the bulk import write IMPORT USERS in the field and click Yes, import!.


 Začni zdaj